Installation Guide: The Basics
- • Receiving SIPs
- • Storing SIPs
- • Suggested Tool List
- • Numbering and Orientation
- • Field Cutting
- • Lifting and Rigging
- • Installing Wall Panels
- • Installing Roof Panels
- • Electrical
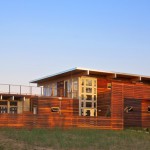
Receiving SIPs
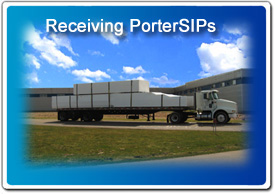 PorterSIPs are often delivered via tractor and full-length trailer. The off-loading of the panels is the responsibility of the owner/contractor. When notified of the shipment of the delivery, the SIP installer should be available and prepared for the arrival of the truck.
Panels are stacked and bundled according to size. The Bill-of-Materials and Bill-of-Lading are part of the shipment documentation. As material is unloaded, check to confirm quantities and sizes of the panels as ordered and itemized on the Bill-of-Materials.
If panels or other material on the Bill-of-Materials are not included in the shipment, or have been damaged during shipment, note those items on the Bill-of-Lading and notify your Porter Corp sales representative immediately. Signing the Bill-of-Lading without notes indicates that all materials listed have been received in full and in good condition.
Storing SIPs
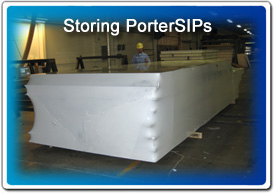 Once panels are unloaded, use blocking to keep panels elevated and flat. If for any reason the panels are not wrapped when they arrive, tarp them to protect them from precipitation and keep panels elevated above standing water or contact with the ground.Keep OSB spline material and 2nd top plate material dry and flat. Dimensional lumber to be used for sills, plates, and splines should also be kept flat and dry. If necessary, store construction sealant and expanding foam in a heated enclosure to keep it above the minimum storage and working temperature.
PorterSIPs are wrapped in 7 mil thick heat shrink plastic for weather protection.
Suggested Tool List
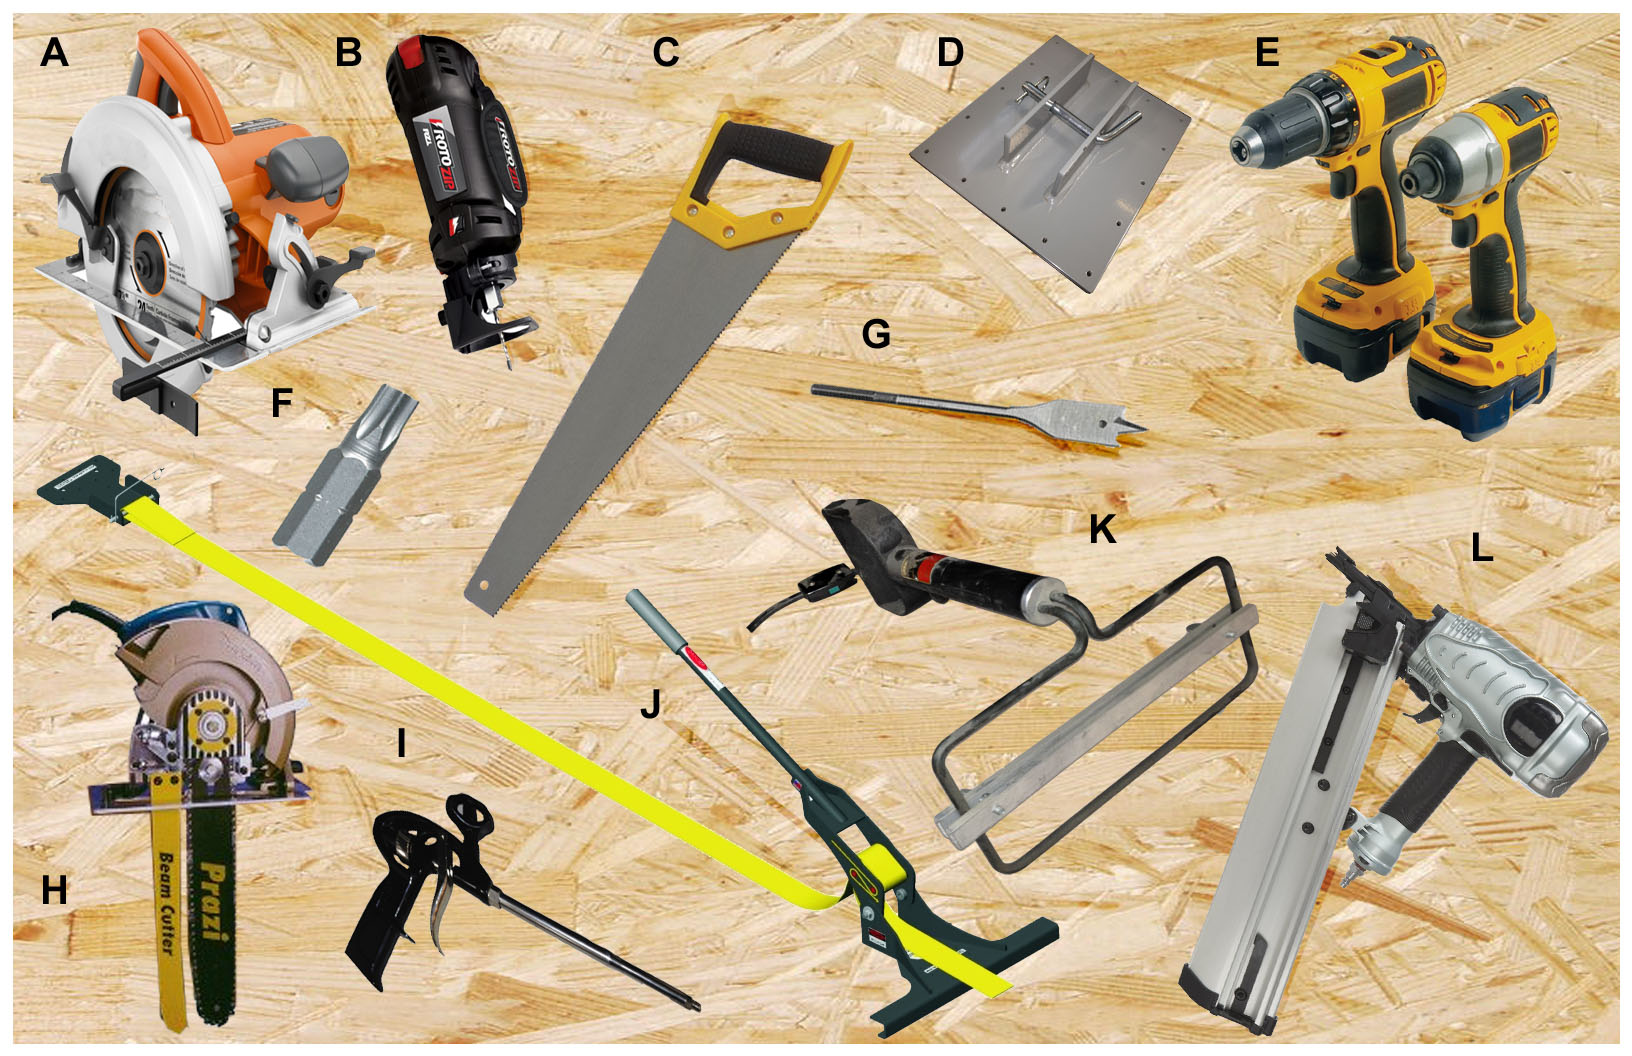
- A) Circular Saw
- B) RotoZip
- C) Hand Saw
- D) Steel Lifting Plates – Pick up large panels by attaching lifting plates with screws to the top OSB surface. Use #10 coarse full thread wood screws, 16 per plate.
- E) Heavy Duty Drill/Impact Driver
- F) T-30 Torx Head Bit – To set Panel screws.
- G) Spade Bit (1″) – Pre drill electrical chase through lumber components.
- H) Beam Saw – This is optional. We recommend Prazi’s Beam Saw. Click here for details.
- I) Foam Gun
- J) Panel Puller – With panels weighing 800 lbs, the panel puller is helpful to slide large panels together on base plates or slide up roof panels into exact position. Regular SIP builders find this tool to be a must.
- K) “Foam Scoop” – Adjustable electric foam cutter. Use the foam scoop to recess the EPS foam for edge blocking, plates, jack studs, etc. Cross bar adjusts so recess is controlled to 1½”, 3″, 4½” or as needed. Scoops are available in 3½”, 5½”, 7″, 9″ and 11″ wide for various panel thicknesses.
- L) Pneumatic Nailer
Numbering and Orientation
The panels will arrive on the jobsite individually marked and labeled. Each panel number will correspond to a panel number in the drawings that will accompany the panel delivery. These drawings are referred to as the “Install Pack”. This will typically be in a large manila envelope. When panels are manufactured they are numbered to indicate the panel location in the building. The sequence-of-assembly typically will correspond to the number sequence on the panel. Please note that while some panels may appear to be out of order, the numbers will always correlate to the drawings. Panels are loaded on the truck to minimize wasted space.
Field Cutting
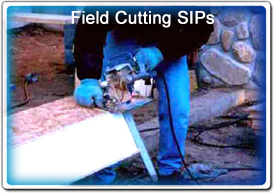 Historically, SIPs have been fabricated in the field. As the SIP industry has matured, SIP manufacturers have become much better at designing and cutting SIP packages to meet the needs of the customer. While PorterSIPs is particularly well equipped to engineer, design and cut SIPs accurately, panels can still be cut in the field. If field-cutting of panels is necessary, it can be done using tools commonly available to the builder. A circular saw, reciprocating saw, and hand saws can perform all cuts required in an installation.
Lifting and Rigging
 The most common method of lifting roof panels is to use lifting plates. They can be attached and detached from the top side of the panel. Using a wrap-around sling on panels can damage the SIP edges if not blocked, is difficult to release, and is not recommended. Through bolting with eye bolts, though safe and effective, requires access to the bottom side for attaching and detaching.
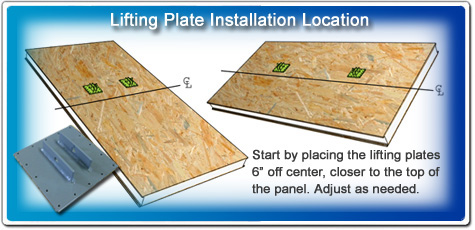
Always use at least two points for lifting. Install two lifting plates approximately 6″ O.C., closer to the top of the SIP. This will ensure that the panel is hung at an angle that matches the roof slope. If necessary, relocate the lifting plates to better match the roof slope.
Attach the lifting plates with screws to the top OSB surface. Use #10 coarse full thread wood screws, 16 per plate.
Installing Wall Panels
To begin the installation process, determine which corner to use as a starting point. Find the first of two panels that make up this corner. Next, install the corner stud into the end of this first corner panel. Then, find the adjacent corner panel and install the corner stud in the appropriate end of this panel as well. Use construction sealant as noted on the drawing and nail the end studs into position. See detail P-2. Continue installing wall panels by following construction details and working in sequence around the building. Install splines and lumber before standing wall panels to save time and for ease of installation.
When appropriate, measure to locate the vertical electrical chase locations on the bottom plate and, with a 1″ spade bit, drill wire chase size holes. To double check that the panel you are working with is oriented correctly, make sure that the horizontal wire chases are located at the bottom of the panel when installed.
Use construction sealant on all wood-to-wood connections and expanding foam sealant on all wood-to-foam connections. Make sure to double check the fastener schedule for all fastener spacing. If any fastener is missed during the installation process, make sure to go back and complete all fastening requirements.
See Technical Bulletin 0900 for more information.
Installing Roof Panels
When installing roof panels it will benefit the installer to do as much prep work as possible while the panels are still on the ground. Installing lumber and splines to the panels while on the ground will make for a more efficient time savings. When applicable, multiple panels can be assembled on the ground together and lifted as an assembly.
Steel lifting plates, available from Porter Corp, can be used to hoist the panels from the ground to where they will be installed on the roof. The lifting plate is a steel plate that is anchored to the outside face of the OSB with multiple #10 coarse full thread wood screws and provides a solid point to attach straps.
It is important with the roof panels that the panel connections are well sealed to prevent any air leakage as this may cause long-term problems with the integrity of the panels, not to mention loss of efficiency of the panel system. Construction details provided with each job show how to best seal the SIP assembly.
After roof panels are installed, make sure that all panels are fastened to the beams, trusses, and bearing walls of the structure. When the roof panels are completely installed, fastened, and any gaps are filled with expanding foam sealant, vapor tape and roofing should be applied as soon as possible. It is a good idea, and strongly recommended, to apply roofing felt onto the roof panels the same day the panels are installed.
Electrical
In general, SIP construction is easier when things are planned ahead of time. Wiring in SIPs is no different. When electrical installation in SIPs is aforethought, not an afterthought, it will be much faster and easier.
In the wall panels, horizontal chases are included at the 16″ level (for outlets) and at the 44″ level (for switches and counter height outlets). Vertical chases, which are located at 4′ O.C., allow wire to run vertically through the wall panels to access switch locations and at other locations as needed to provide vertical wiring options for the electrician. Porter Corp typically installs wire chases per this standard, but wire chases can be installed to exactly match an electrical plan. Custom wire chase placement per an electrical plan is done at the time the panel layout drawings are made, so Porter Corp would need a detailed electrical plan at that time for this to be feasible.
As structural panels are installed, the SIP installer will need to drill with a 1″ spade bit the sill and top plates, and any lumber connecting splines, to provide for clear entry and exit of the wire chases for the electrician.
See Technical Bulletin 0200 for more information on electrical wiring.